Production Stages
In the production stages you will see three tabs i.e Production Flow, Production Automation and Material Association, you will create the flow of the process to enhance the production of a specific order.
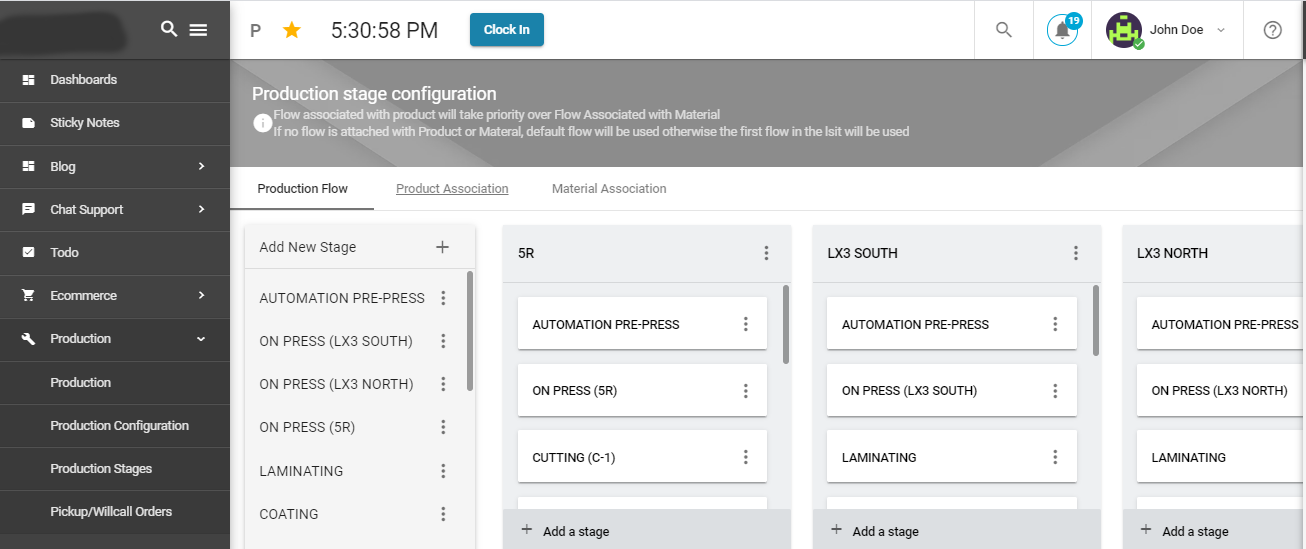
Production Flow
To create a new stage, click on the plus sign a new input box will appear.

- In 'Description' we will define a stage with a name i.e. Cutting Stage.
- 'Alias' is the specific word or stage name we use to assign, so that customer can see at that particular stage in Job status. For example, if we assign Alias as 'In Progress', it means at the Cutting stage, the customer will see the job status 'In Progress'.
Display group by
'Job' represents the exact task e.g. if the task is stitching 100 shirts, every completed piece will pass on to the next stage individually. It will show the quantity breakdown of the task and each task will be separated in an individual row.
'Job Sum' treats each and every task as the same entity. If three pieces are completed and two are not, it will show the quantity i.e. 5 in the same row.
The plate is used for printing purposes. For example, if you ave an order printing 5 types of visiting cards. Then you place the order on the same plate, it will be a cut and separated afterwards.
If the product is active right now then click the active checkbox.
If you want to allow the user to download plate artwork then click 'show plate artwork download'. It will show the download button for the plate artwork.
If you want to allow the user to download report file then click 'show report file download'. It will show the download button for the report file.
If you want to allow the user to download the cut pdf file, then click 'show cut pdf file download'. It will show the download button for the cut pdf file.
If you want to allow the user to download the cut machine file, then click 'show cut machine file download'. It will show the download button for the cut machine file.
If you want to show the bar code at this stage, then click 'show print barcode'. It will show the button to download barcode. Each Job number will be assigned a different bar code.
'Allow Manual Nesting' is for Plates only. Clicking this checkbox will allow the user to create plates at this particular stage.
If you click a checkbox 'Allow Job On Hold', It will then allow a user to pause a job at this stage.
Zone initialization works differently. If you get production order of multiple items which requires different production flow, then each completed item order at this stage will be assigned a zone. Clicking checkbox 'zone Initialization Stage' will allow the user to assign zones at this particular stage.
If you click 'Is Option Stage', it will show another textbox where you will right any production stage of a flow that would be optional, i.e. you can skip that stage.
Here you will enter all the relevant details accordingly to create a production flow. To add a stage to your flow, click the 'Add Stage' button inflow.

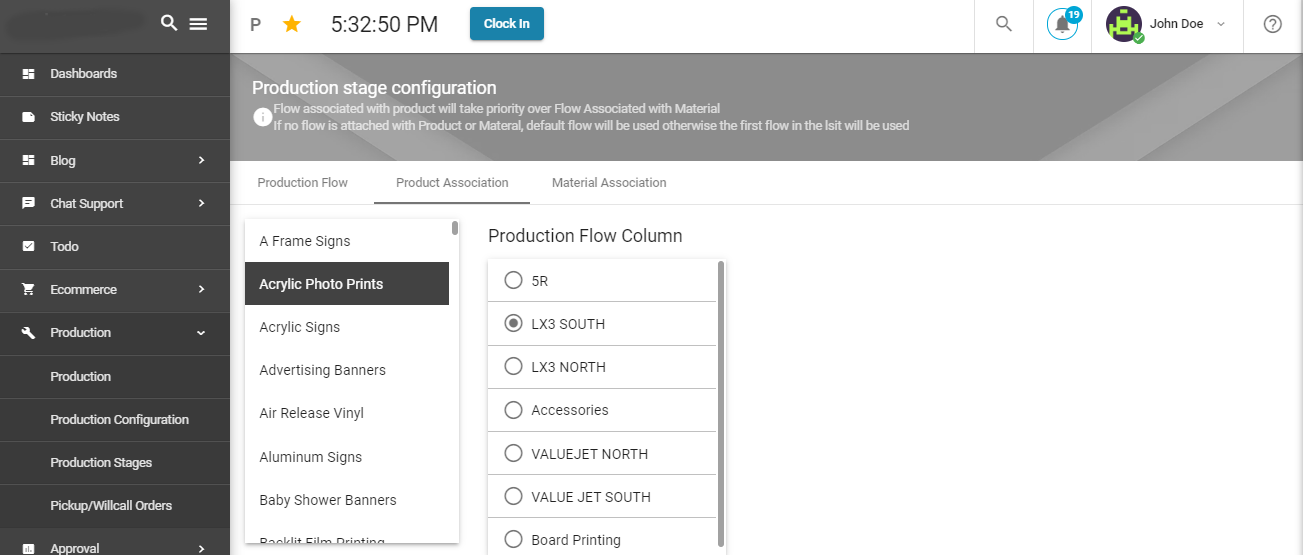
Product Association
In product association, you can select a specific production flow for a specific product.
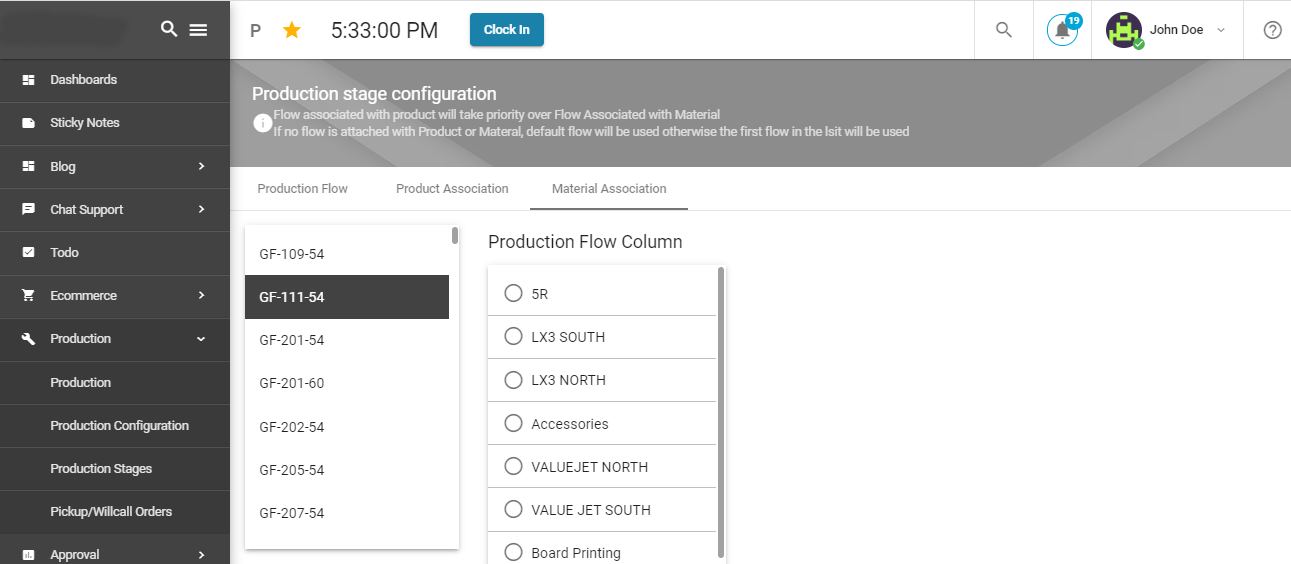
SKU Association
Flow associated with the product will take priority over Flow Associated with SKU. Otherwise, you can select a specific flow for a selected SKU.
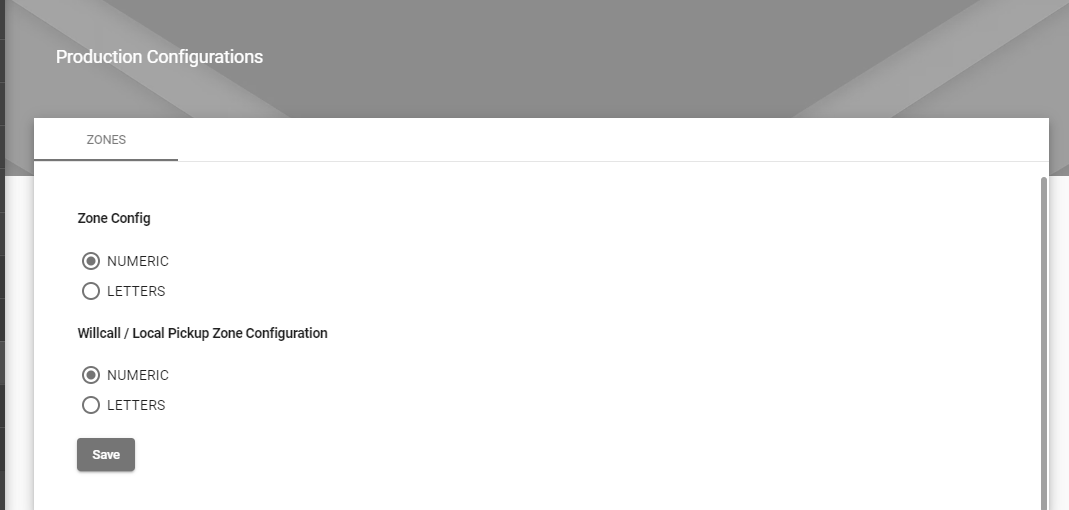
Zone Configuration
In this section, you can define how your zone will be named.
User Access Management
You can define here which employee/user has access to different production Stages.